
Blog
Mesh Nest blog
News, notes, and updates from the studio.
Latest posts
Browse articles and announcements.

DIY Zigbee2MQTT USB Coordinator Setup for Home Assistant
Set up a USB Zigbee coordinator with Zigbee2MQTT and Mosquitto so your sensors and switches stay local—useful when Wi‑Fi and cloud apps wobble during load shedding.

DIY UPS Monitoring with NUT and Home Assistant for Load Shedding
Wire a USB UPS into Home Assistant with Network UPS Tools (NUT) so you get real on-battery alerts, battery-charge automations, and graceful load shedding—not just a schedule guess.

DIY Load-Shedding Ready Smart Plugs with Home Assistant
Build a practical, local-first smart-plug setup that sheds non-essentials before and during outages—using Home Assistant, schedule sensors, and optional UPS monitoring.

DIY Home Automation: How to Build a Smarter Home Without Breaking the Bank
Want a smarter home without expensive proprietary systems? This practical guide walks you through starting a DIY home automation setup using open-source tools, affordable hardware, and a clear step-by-step approach.
DIY Load-Shedding Ready Smart Plugs with Home Assistant
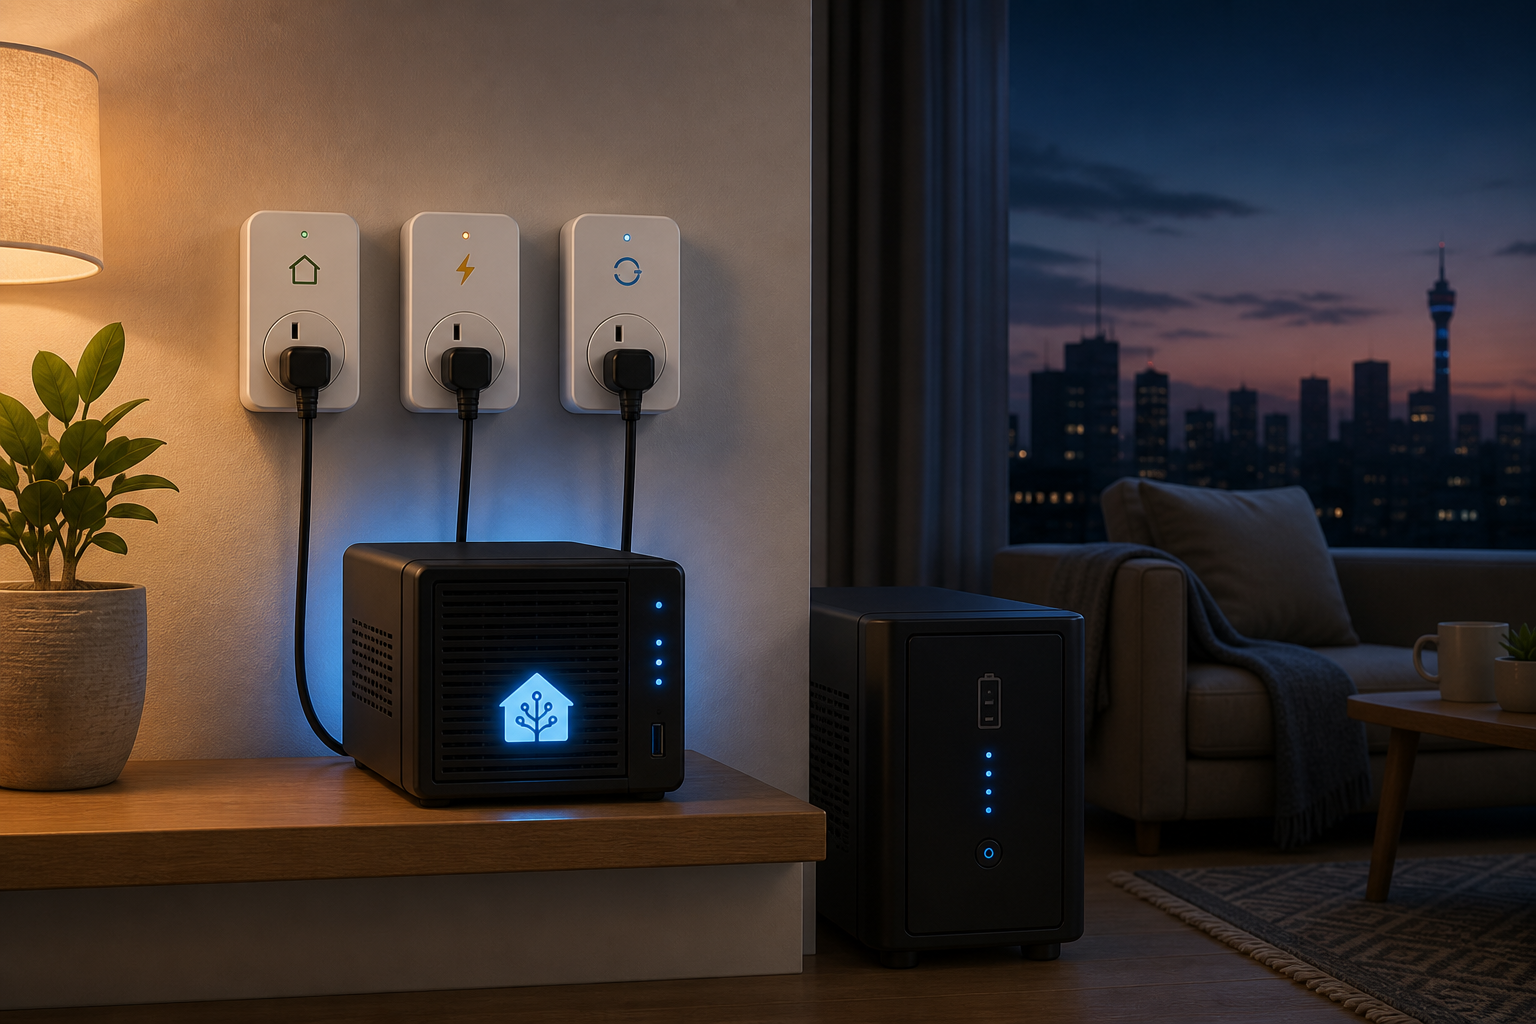
DIY Load-Shedding Ready Smart Plugs with Home Assistant
Build a practical, local-first smart-plug setup that sheds non-essentials before and during outages—using Home Assistant, schedule sensors, and optional UPS monitoring.
South African homes already know the drill: the lights flicker, the Wi-Fi router dies, and anything that depends on a cloud app becomes useless. The fix is not more gadgets—it is local control plus a clear priority list so Home Assistant can turn off the right plugs before (and during) load shedding.
This guide walks through a practical DIY setup: choose plugs that keep working on your LAN, label what must stay on versus what can shed, pull your area schedule into Home Assistant, and optionally detect real power loss with a UPS. Every step below cites real documentation URLs—not marketing fluff.
What “load-shedding ready” actually means
A plug is only useful in an outage if three things are true:
- Local control — commands reach the plug on your home network (MQTT, Zigbee, or a local API), not via a manufacturer cloud that needs the internet.
- Known priority — you have already decided which loads are essential (router, fridge, UPS-backed lights) versus discretionary (heater, kettle, gaming PC, pool pump).
- A reliable trigger — Home Assistant reacts to scheduled shedding and/or actual grid loss, not only a phone notification you might miss.
Cloud-only Wi-Fi plugs fail the first test the moment your fibre ONT or ISP gear loses power. Prefer Zigbee plugs on a local mesh, or Wi-Fi plugs flashed for local MQTT (for example Tasmota) that Home Assistant can discover without the vendor cloud.
Pick plugs that survive your network design
Option A: Zigbee plugs (best mesh backbone)
Zigbee plugs that stay mains-powered also act as routers for your mesh. Pair them through Zigbee2MQTT or ZHA so devices appear in Home Assistant locally. Official Zigbee2MQTT docs recommend a supported coordinator (zStack or EmberZNet families are recommended) and a USB extension cable to reduce interference.
- Getting started: https://www.zigbee2mqtt.io/guide/getting-started/
- Supported adapters: https://www.zigbee2mqtt.io/guide/adapters/
- Install Mosquitto plus Zigbee2MQTT on Home Assistant OS, then pair plugs after the coordinator is stable.
- Place always-on plugs in rooms that need coverage; battery sensors do not build the mesh.
- Confirm each model on the Zigbee2MQTT supported-devices list before you buy.
Option B: Wi-Fi plugs with local firmware (Tasmota)
If you already own ESP-based plugs, Tasmota’s Home Assistant documentation explains MQTT setup and the official Tasmota integration: https://tasmota.github.io/docs/Home-Assistant/
With MQTT configured and discovery enabled the preferred modern way (SetOption19 0 for the Tasmota integration), relays show up as switch entities you can automate even when the public internet is down.
Safety note: only flash hardware you understand, use correct power ratings for SA 230 V circuits, and never exceed the plug’s rated current. When in doubt, buy a certified Zigbee plug instead of flashing.
Label three tiers before you write any automation
Walk the house with a notebook (or Home Assistant labels) and assign every switched load:
- Keep — router, ONT, modem, Home Assistant host, fridge or freezer, medical devices, security modem. These should sit on inverter or UPS circuits where possible, not on “shed” plugs.
- Shed early — heaters, geysers on smart relays, dishwashers, tumble dryers, gaming PCs, decorative lighting. Cut these 15–60 minutes before scheduled shedding so UPS or inverter runtime stretches.
- Restore carefully — after power returns, stagger large inductive loads so you do not slam everything on at once.
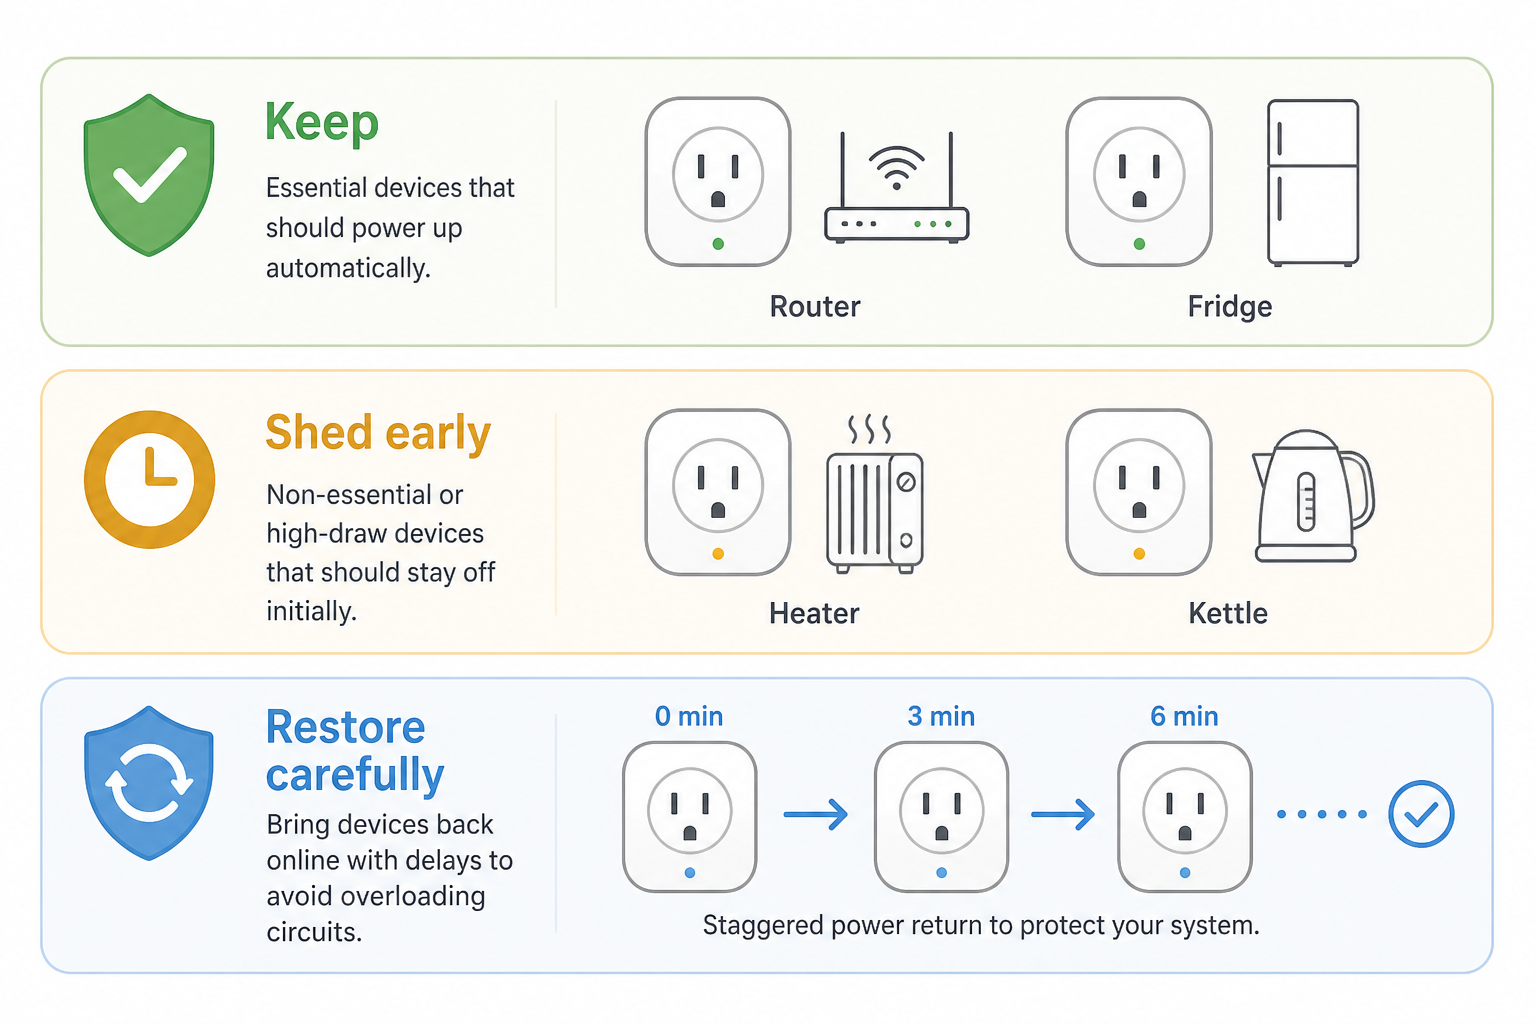
If you use Home Assistant Labels, mark shedable switches with something like shed_ok so one automation can target the group.
Trigger 1: scheduled load shedding (EskomSePush)
Home Assistant community integrations can pull area schedules via the EskomSePush API (https://sepush.co.za/). Two widely used projects:
- swartjean/ha-eskom-loadshedding — sensors plus a calendar of upcoming local events; the README shows calendar triggers with an offset (for example one hour before an event) to turn off a switch: https://github.com/swartjean/ha-eskom-loadshedding
- zwgtdev Load Shedding (HACS) — stage and area sensors plus example automations for warnings and start/end actions: https://github.com/zwgtdev/ha.integration.load_shedding — read their EskomSePush licence notes and obtain an API key before installing.
Example pattern (adapt entity IDs to your install): turn off non-essentials an hour before a calendar event.
Trigger: Calendar start on your load-shedding calendar, offset -01:00:00.
Action: homeassistant.turn_off targeting your shedable switch group or individual switch entities.
Add a second automation for a 15-minute warning (notify your phone) so people can finish cooking or shut a PC cleanly. Keep API usage within EskomSePush limits—do not hammer the free tier from multiple keys on one IP.
Trigger 2: real outage detection (UPS + NUT)
Schedules slip. When the grid actually drops, a USB-connected UPS reporting through Network UPS Tools (NUT) gives Home Assistant live status: on-line versus on-battery, battery charge, and estimated runtime. Official integration docs: https://www.home-assistant.io/integrations/nut
Official NUT examples include:
- Notify when UPS status becomes On Battery, Battery Discharging.
- Notify when battery charge drops below a threshold (their docs use 25% as an example).
Extend those same state and numeric triggers to shed discretionary plugs immediately when status flips to on-battery, then shed more aggressively as charge falls. Put the Home Assistant host, network gear, and the NUT-talking UPS data path on protected outlets—otherwise your automations die with the grid.
A minimal automation set that works in practice
- Pre-shed from calendar — offset before next area event → turn off shed_ok plugs → optional notify.
- On-battery shed — NUT status → on battery → turn off heaters and other high draws first.
- Low-battery protect — charge below your chosen percent → shed everything non-critical; optionally trigger a graceful host shutdown later.
- Grid restore — status back to on-line (or calendar event end) → wait a few minutes → turn essentials back in stages (lights, then kettle, then heavy appliances).
Home Assistant’s automation trigger documentation covers state, numeric state, and related patterns you will reuse here: https://www.home-assistant.io/docs/automation/trigger/ Prefer the UI editor first; paste YAML only when you need an offset or template.
Power monitoring extras (optional but useful)
Plugs that report watts help you verify what actually draws during an outage. Home Assistant’s Power integration adds threshold triggers (for example “crossed above 1500 W”) so a rogue heater can be cut even outside a scheduled slot: https://www.home-assistant.io/integrations/power/
Tasmota power-monitoring entities map cleanly once MQTT discovery is working.
Shopping and setup checklist for SA apartments
- Home Assistant host on a small UPS (enough runtime for router plus HA for a typical multi-hour slot).
- Local Zigbee coordinator plus 2–4 always-on Zigbee plugs as routers, or Tasmota/local Wi-Fi plugs on 2.4 GHz with solid signal.
- EskomSePush API key plus one HA load-shedding integration for your suburb or area.
- Labels or groups: keep versus shed_ok.
- Test day: manually trigger “pre-shed” and “on-battery” automations while you watch which rooms go dark—fix surprises before a Stage 4 evening.
What not to do
- Do not put life-safety or always-on medical equipment on automated shed plugs.
- Do not rely solely on cloud app schedules; local Home Assistant must own the relay command path.
- Do not overload multi-plug adaptors—respect nameplate amps and applicable SA safety markings on hardware.
- Do not invent timings: tune offsets to your inverter runtime and measured plug wattage.
Next steps
Start with two plugs and one calendar automation. Once pre-shed feels boring (the goal), add NUT and staggered restore. From there you can expand into Zigbee sensors, inverter state-of-charge automations, or whole-home energy dashboards—but the backbone remains the same: local plugs, clear priorities, schedule plus UPS triggers.
Sources cited above: Zigbee2MQTT getting started and adapters; Tasmota Home Assistant docs; Home Assistant NUT, automation triggers, and Power integration; ha-eskom-loadshedding; ha.integration.load_shedding; EskomSePush.