
Blog
Mesh Nest blog
News, notes, and updates from the studio.
Latest posts
Browse articles and announcements.

DIY: Schedule and Shed Your Electric Geyser with Home Assistant
Keep a big SA electric geyser off overnight and during peaks with a Home Assistant Schedule helper—then optionally shed it when your load-shedding area sensor flips on.

DIY Load-Shedding Schedule in Home Assistant with EskomSePush
Pull your area’s EskomSePush schedule into Home Assistant with WernerHP’s Load Shedding integration—then trigger 15-minute warnings and start/end automations without burning the free API quota.

DIY Zigbee2MQTT USB Coordinator Setup for Home Assistant
Set up a USB Zigbee coordinator with Zigbee2MQTT and Mosquitto so your sensors and switches stay local—useful when Wi‑Fi and cloud apps wobble during load shedding.

DIY UPS Monitoring with NUT and Home Assistant for Load Shedding
Wire a USB UPS into Home Assistant with Network UPS Tools (NUT) so you get real on-battery alerts, battery-charge automations, and graceful load shedding—not just a schedule guess.

DIY Load-Shedding Ready Smart Plugs with Home Assistant
Build a practical, local-first smart-plug setup that sheds non-essentials before and during outages—using Home Assistant, schedule sensors, and optional UPS monitoring.

DIY Home Automation: How to Build a Smarter Home Without Breaking the Bank
Want a smarter home without expensive proprietary systems? This practical guide walks you through starting a DIY home automation setup using open-source tools, affordable hardware, and a clear step-by-step approach.
DIY: Schedule and Shed Your Electric Geyser with Home Assistant
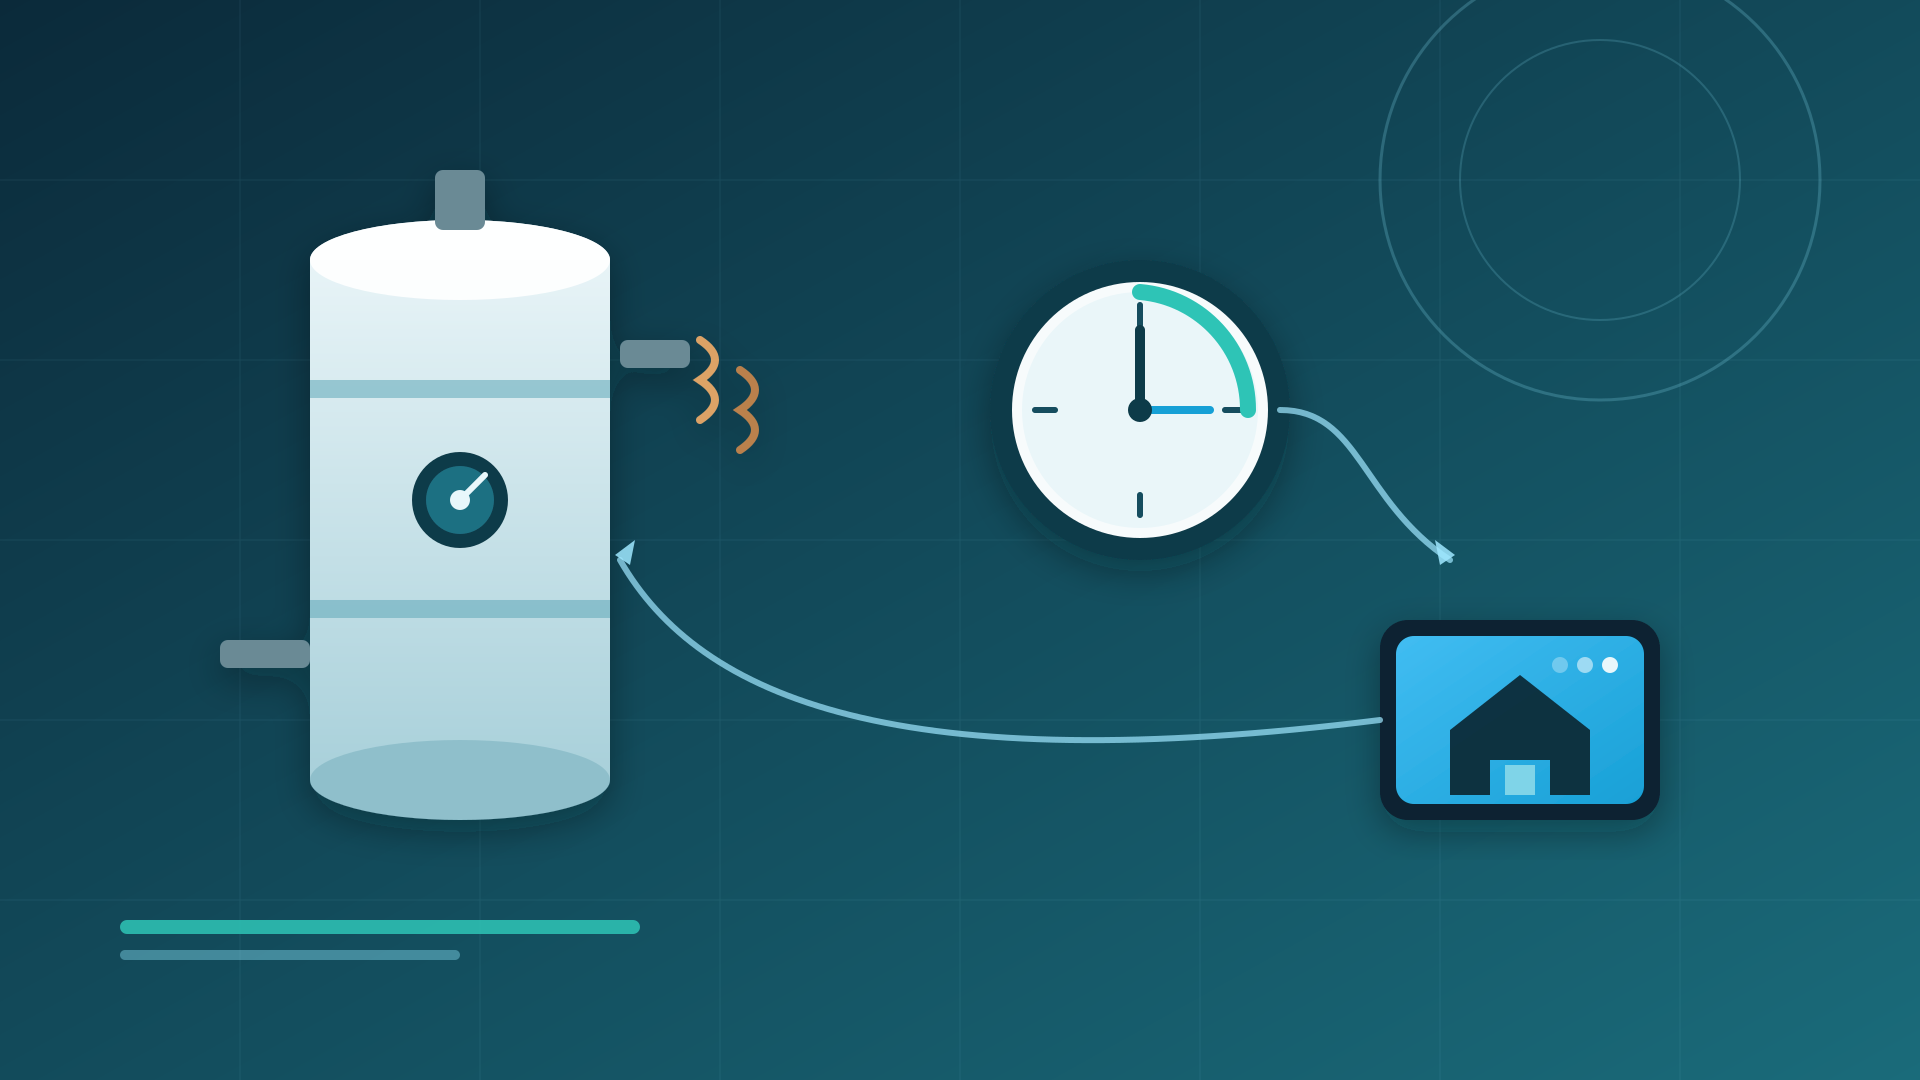
DIY: Schedule and Shed Your Electric Geyser with Home Assistant
Keep a big SA electric geyser off overnight and during peaks with a Home Assistant Schedule helper—then optionally shed it when your load-shedding area sensor flips on.
An electric geyser is one of the hungriest loads in a South African home. Leave it on 24/7 and you pay for water you are not using; leave it on into a load-shedding slot and you risk a cold shower and a hard restart when the grid returns. The fix is not a fancy AI—it is a weekly schedule in Home Assistant that turns a properly rated switch entity off overnight / through peaks, plus an optional shed when your area is actually shedding.
This DIY assumes you already have (or will add) a mains-rated smart relay or contactor path that exposes a normal switch.* entity. It complements the earlier MeshNest post on EskomSePush / Load Shedding sensors—use that schedule as the forecast, not as a second install guide. Official automation overview: https://www.home-assistant.io/docs/automation/
Safety first (read this before you buy hardware)
Geyser circuits are fixed appliances on dedicated wiring. In South Africa, electrical installation work and Certificates of Compliance (CoC) sit under the Electrical Installation Regulations—only a registered person should hardwire or alter that circuit. Overview of CoC expectations: https://ecb.org.za/coc/ · regulations text: https://www.saflii.org/za/legis/consol_reg/eir342/
- Do not jam a plug-in smart plug into a hardwired geyser circuit, or underrate a relay for a ~3 kW element.
- Do keep the existing isolator / switch-disconnector accessible, earth bonding intact, and earth-leakage protection as required by your installation.
- Prefer a qualified electrician to fit a DIN-rail smart relay or a smart relay that drives a suitably rated contactor in the DB / geyser enclosure—then issue or update the CoC for the work.
- This guide automates the switch entity after the hardware is installed safely. It is not a wiring tutorial.
What you will build
- A Home Assistant Schedule helper for “geyser allowed on” windows (e.g. morning heat-up, evening top-up).
- Automations that turn the geyser switch on when a schedule block starts and off when it ends.
- An optional shed that forces the switch off when your load-shedding area sensor is on—and restores only if the schedule still says “allowed.”
Prerequisites
- Home Assistant with a working UI (Helpers + Automations).
- A geyser control entity already in HA as a switch (or equivalent) after electrician install—examples below use Shelly Gen3 / Pro devices via the official Shelly integration: https://www.home-assistant.io/integrations/shelly/
- Optional: WernerHP Load Shedding / EskomSePush area sensor from the prior MeshNest DIY (do not reinstall here)—you only need the area “on while shedding” entity for the shed automation.
Step 1: Choose a properly rated switch path
Typical SA geysers sit around the multi-kilowatt range. Treat nameplate current as gospel, then pick hardware with headroom—or drive a contactor rated for the element.
Example product class (verify your exact SKU before install):
- Shelly 1PM Gen3 — Wi-Fi smart switch with power monitoring; official specs list max switching current 16 A at 240 V~, and Shelly documents resistive loads including heating appliances. Product page: https://www.shelly.com/products/shelly-1pm-gen3
- Shelly Pro 1PM — DIN-rail 1-channel relay with metering; official specs list max switching current AC 16 A. Product page: https://www.shelly.com/products/shelly-pro-1pm
Contactor path (often the safer long-term choice for continuous ~3 kW): use a low-current smart relay output only to energise a contactor coil; the contactor carries the geyser live. Your electrician sizes the contactor (AC-1 for resistive heating) and enclosure. Home Assistant still only sees a switch entity—the logic below does not change.
After install: Settings → Devices & services → Shelly (auto-discovery is typical for Gen2+). Confirm you have a stable switch.your_geyser (rename it to something obvious).
Step 2: Create a Schedule helper (“geyser allowed”)
Home Assistant’s Schedule helper builds weekly on/off blocks you can use as triggers and conditions: https://www.home-assistant.io/integrations/schedule/
- Settings → Devices & services → Helpers → Create helper → Schedule.
- Name it something clear, e.g. Geyser allowed.
- Paint the blocks when the element may run. A common SA starting point:
- Weekdays: heat before morning showers, optional lunch top-up if you need it, evening top-up—then off overnight.
- Weekends: stretch the morning block if brunch runs late.
- Remember schedule behaviour from the docs: start is inclusive, end is exclusive; blocks cannot cross midnight (split into evening + morning blocks that touch).
You are modelling permission, not a thermostat. The geyser’s own thermostat still stops heating when water is hot; the schedule only decides whether power is available.
Step 3: Automations — schedule on / schedule off
Use the Schedule integration’s dedicated triggers:
- Schedule block started (schedule.block_started) — https://www.home-assistant.io/triggers/schedule.block_started/
- Schedule block ended (schedule.block_ended) — https://www.home-assistant.io/triggers/schedule.block_ended/
Automation A — allow geyser when a block starts
UI path: Settings → Automations & scenes → Create automation.
- When: Schedule block started → target your schedule.geyser_allowed helper.
- And if (optional): load-shedding area sensor is not on (skip heat-up if you are already shedding).
- Then do: Switch turn on → your geyser switch entity.
YAML sketch (replace entity IDs):
alias: "Geyser — allow when schedule starts" triggers: - trigger: schedule.block_started target: entity_id: schedule.geyser_allowed conditions: [] actions: - action: switch.turn_on target: entity_id: switch.geyserAutomation B — cut geyser when a block ends
- When: Schedule block ended → same schedule helper.
- Then do: Switch turn off → geyser switch.
Step 4 (optional): Shed during load shedding, restore carefully
If you already have an area sensor from the EskomSePush / Load Shedding integration DIY, treat “area currently shedding” as a hard veto on the geyser—regardless of the weekly schedule.
Automation C — shed when area goes on
- When: State of your area sensor changes to the “shedding / on” value your integration uses (confirm in Developer Tools → States).
- Then do: switch.turn_off on the geyser.
Automation D — restore only if still allowed
- When: Area sensor returns to the idle / not-shedding state.
- And if: Schedule is on (schedule.is_on) for schedule.geyser_allowed — docs: https://www.home-assistant.io/conditions/schedule.is_on/
- Then do: switch.turn_on.
That restore condition is the important bit: if shedding ends at 02:00 and your schedule says “off overnight,” leave the geyser off. You avoid heating an empty house just because the grid came back.
YAML sketch:
alias: "Geyser — restore after shedding if schedule allows" triggers: - trigger: state entity_id: sensor.your_area_load_shedding to: "off" conditions: - condition: schedule.is_on target: entity_id: schedule.geyser_allowed actions: - action: switch.turn_on target: entity_id: switch.geyserExact to: values depend on your sensor—copy from Developer Tools, do not invent states from a screenshot on the internet.
Step 5: Test without trusting luck
- Manual switch test — from HA, toggle the geyser switch once while someone watches the isolator / meter / Shelly power entity. Confirm off really means off.
- Schedule dry-run — temporarily paint a 5-minute block starting a few minutes from now; watch Automations → Traces when it fires.
- Shed dry-run — if you have the area sensor, use Developer Tools → States to set it to the shedding state briefly (or wait for a real slot) and confirm the geyser turns off; restore with the schedule condition.
- Power metering (if PM model) — confirm watts drop to ~0 when off and climb when the thermostat calls for heat.
Tuning tips for SA homes
- Morning heat-up length depends on tank size, thermostat setpoint, and how cold the inlet water is in winter—start generous, then shrink the block once showers are reliably hot.
- Peak avoidance — if your tariff or municipal peak window hurts, keep the schedule off through that window even if you are home.
- Manual override — add a Boolean helper “Geyser force on” and OR it into the allow automation if guests arrive; always pair with an auto-clear timer so force-on cannot stick for days.
- Do not fight the thermostat — short-cycling the element on a 1-minute cron wastes relay life; prefer multi-hour schedule blocks.
Caveats
- Wi-Fi relays need network path to HA for cloud-free control; Pro / Ethernet options help in noisy DB cupboards.
- If HA is down, the last relay state usually sticks—decide whether “fail last” is acceptable, or ask your electrician about a default-off contactor strategy.
- Never rely on schedule alone during multi-day outages: cold water is annoying; an undetected stuck-on element after restore is worse—PM entities and a simple “on longer than N hours” notification help.
- Insurance and CoC: unauthorised DIY on fixed wiring can void cover. Budget the electrician; automate the logic yourself.
Checklist
- Qualified electrician fitted a correctly rated relay/contactor path; isolator and bonding intact; CoC updated where required
- Shelly (or similar) appears in HA with a clear switch entity — https://www.home-assistant.io/integrations/shelly/
- Schedule helper created — https://www.home-assistant.io/integrations/schedule/
- Block-started → turn on; block-ended → turn off automations tested via Traces
- Optional: area-sensor shed + schedule.is_on restore wired to your existing EskomSePush sensors
- Manual toggle, short schedule window, and power-meter (if available) verified
Hardware ratings cited from Shelly’s public product pages (1PM Gen3 16 A @ 240 V~; Pro 1PM 16 A AC). Always re-check the live datasheet for your exact model and firmware before install, and let a registered electrician own the mains side.